DIY Unpoppable Magic Bubbles – Easy Recipe
How To Make DIY Magic Unpoppable Bubbles that truly defy gravity? Forget those flimsy, easily-bursting spheres that vanish with a mere breath! We’re diving into the delightful world of creating your very own, super-powered, unpoppable bubbles. If you’ve ever watched a child’s face light up at the sight of floating orbs, or experienced the pure, simple joy of chasing them, then you know the magic they hold. But what if those magical bubbles could last longer, float higher, and withstand gentle touches? That’s precisely the enchantment we’re unlocking today. These aren’t just any bubbles; they’re a science experiment disguised as pure fun, a testament to how everyday ingredients can create something extraordinary. Get ready to amaze yourself and everyone around you with these incredible, DIY magic unpoppable bubbles!
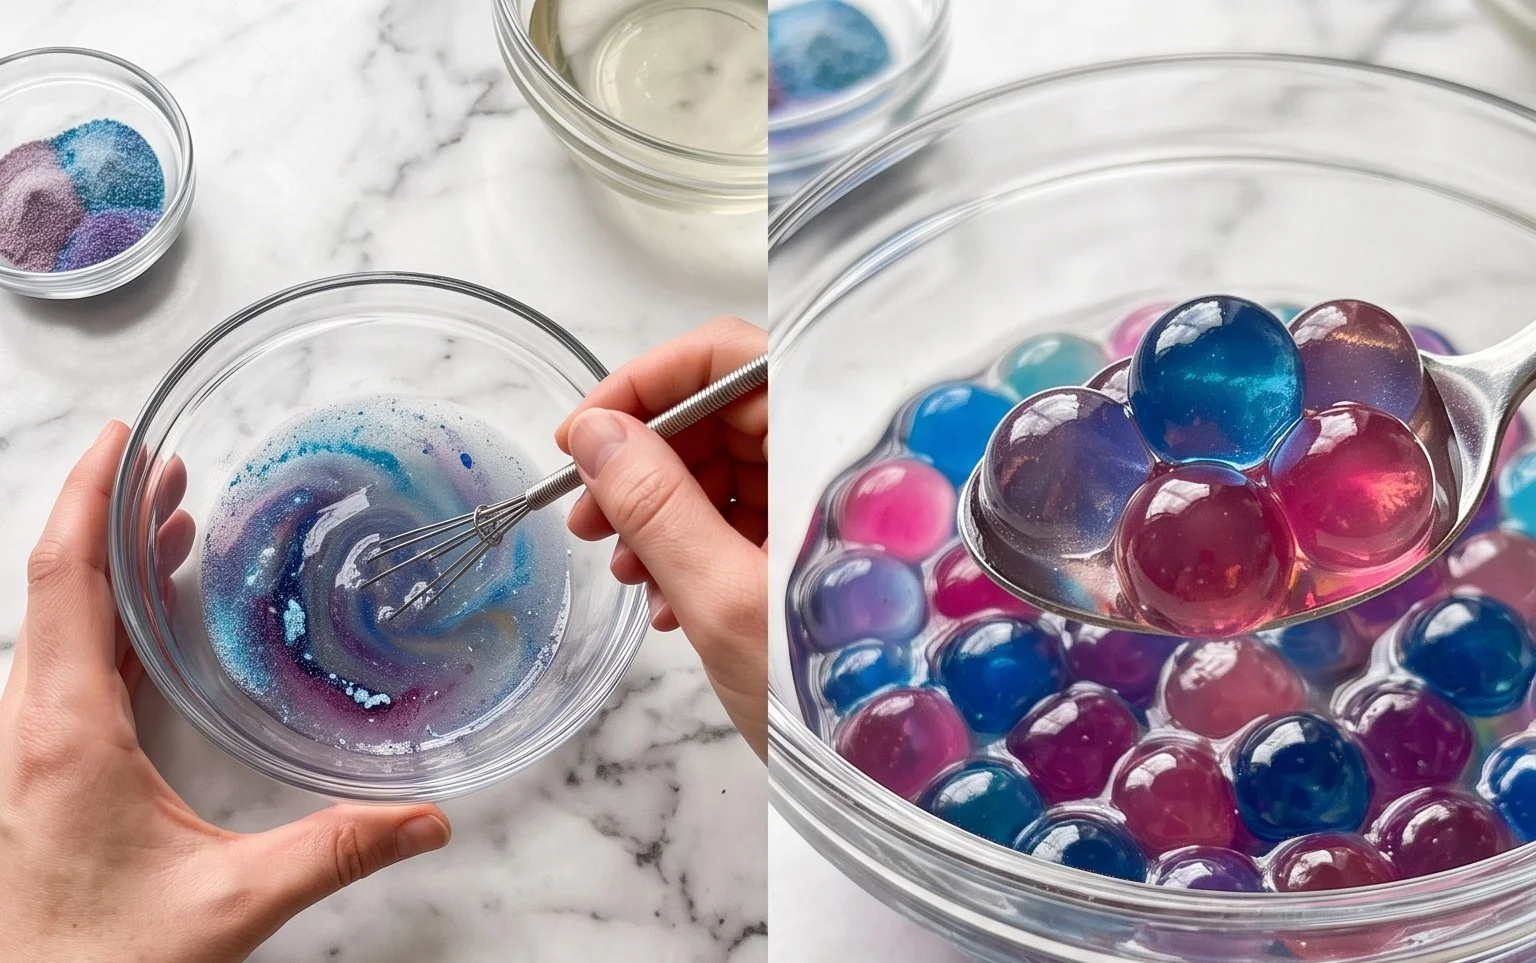
Ingredients:
- Dish Soap
- Sugar
- Water
Tools:
- Straw
- Clean Counter or Table
How To Make DIY Magic Unpoppable Bubbles
Are you tired of the fleeting joy of traditional bubbles that pop with the slightest touch? Do you dream of creating spheres of iridescent wonder that linger, bounce, and defy gravity? Well, prepare to be amazed, because today we’re diving into the delightful world of DIY magic unpoppable bubbles! Forget those store-bought solutions that often disappoint; with a few simple ingredients you likely already have in your kitchen, you can unlock the secret to creating bubbles that are truly extraordinary. This recipe is not just about making bubbles; it’s about creating an experience, a moment of wonder for both kids and adults alike. The magic lies in a simple scientific principle that, when applied correctly, transforms ordinary soap and water into something truly special. So, let’s gather our supplies and get ready to make some unpoppable magic!
The Science Behind the Super Bubble
Before we begin, a quick peek into why these bubbles behave so differently is fascinating. Traditional bubbles pop easily because the water layer between the soap film evaporates relatively quickly. By adding sugar to our bubble solution, we’re introducing a humectant. Humectants attract and retain moisture, meaning the sugar molecules will help to hold onto the water within the bubble film for much longer. This significantly reduces the rate of evaporation, making the bubbles more robust, elastic, and yes, “unpoppable” for a considerable amount of time. The sugar also contributes to the surface tension of the water, further strengthening the bubble’s structure. It’s a beautiful example of how a simple kitchen ingredient can have such a profound impact on a playful phenomenon.
Crafting Your Unpoppable Bubble Solution
This is where the real magic begins. The process is straightforward, but paying attention to the details will ensure you get the best results. We want a solution that is perfectly balanced to create those resilient, long-lasting bubbles.
- Prepare Your Workspace: Find a clean, flat surface like a counter or table. Having a clear area will make the mixing process smoother and prevent any accidental spills from becoming sticky messes. It’s also a good idea to have a small pitcher or jug handy to pour your finished bubble solution into, making it easier to dip your straw.
- The Base Mixture: Start by combining your water and sugar. You’ll want to use warm water as it helps the sugar dissolve much more efficiently. A good starting ratio is about 1 cup of warm water to 2 tablespoons of sugar. Pour the warm water into a bowl or a sturdy measuring cup. Then, slowly add the sugar. Stir continuously with your straw or a spoon until the sugar is completely dissolved. You shouldn’t see any sugar granules at the bottom of the bowl. If it’s not dissolving well, you can gently heat the water a little more, but be careful not to make it too hot. This dissolved sugar is the key ingredient that will make our bubbles so durable.
- Adding the Dish Soap: Once your sugar is fully dissolved, it’s time to introduce the dish soap. This is where the bubbles themselves are born. For every cup of water and 2 tablespoons of sugar, you’ll want to add about 2 tablespoons of good quality dish soap. It’s important to use a mild dish soap; harsher detergents can sometimes break down the bubble film too quickly. Gently pour the dish soap into the sugar-water mixture. Now, the crucial part: stir very, very slowly and gently. The goal here is to incorporate the soap without creating a lot of foam or bubbles in your solution. Vigorous stirring will create premature bubbles that will only make your solution less effective. Use your straw or a spoon to gently swirl the mixture until everything is combined. You’ll notice the liquid starting to look a bit thicker and more viscous.
- Letting the Magic Mature: This is perhaps the most important step for truly unpoppable bubbles, and it requires a little patience. Once your solution is mixed, cover the bowl or container with plastic wrap or a lid. Now, let it sit. The ideal resting period is at least 24 hours. You can even let it sit for up to 48 hours for even better results. During this time, the ingredients will meld together, the dish soap will break down any excess air bubbles, and the sugar will work its magic, creating a truly potent bubble solution. Don’t be tempted to skip this step; it’s the secret to achieving those remarkably resilient bubbles. You’ll find that after resting, the solution becomes even more viscous and ready to create some spectacular bubbles.
- Blowing Your Unpoppable Bubbles: After your solution has had ample time to mature, it’s time for the fun! Gently stir the solution one last time, being careful not to create more foam. Dip your straw into the solution, making sure to get a good amount of liquid onto the end. Don’t overload it, as this can also lead to premature popping. Find a clear area, perhaps outdoors on a breezy day or in a large room. Gently blow through the straw, aiming for a steady, controlled stream of air. You’ll notice that the bubbles you create are thicker, more iridescent, and much, much more durable than ordinary bubbles. You can try gently tapping them, or even letting them land on a surface to see how long they last. Experiment with different blowing techniques and sizes to see what amazing bubble creations you can make!
Creating these unpoppable bubbles is a rewarding and surprisingly simple process. It’s a fantastic activity for a sunny afternoon, a party, or just a moment of playful discovery. Enjoy the magic!
Conclusion:
And there you have it – your very own batch of DIY magic unpoppable bubbles! This recipe is truly fantastic because it’s incredibly simple, uses readily available ingredients you probably already have in your pantry, and delivers surprisingly durable and fun bubbles. The joy of seeing these large, resilient spheres drift and float, resisting the usual pop, is truly magical for kids and adults alike. These aren’t just your average bubbles; they’re an invitation to extended playtime and wonder!
While the primary use is, of course, outdoor entertainment, you can get creative! Imagine using them as unique decorations for a party by gently blowing them around a garden or patio. For variations, feel free to experiment with different food coloring to create vibrant, multi-hued bubbles. Adding a touch of glitter to the solution before mixing can also result in shimmering, ethereal spheres.
I highly encourage you to give this DIY magic unpoppable bubbles recipe a try. It’s a rewarding and economical way to create hours of entertainment. So gather your ingredients, head outside, and let the bubble-making adventures begin!
Frequently Asked Questions:
Why don’t these bubbles pop as easily as regular ones?
The key ingredient is glycerin. It helps to slow down the evaporation of the water in the bubble film, making it more elastic and less prone to bursting on contact. This elasticity is what gives these DIY magic unpoppable bubbles their impressive resilience.
Can I make these bubbles indoors?
While it’s possible, I recommend doing it outdoors for the best experience. Indoors, the bubbles might pop more readily due to less air circulation and the potential for them to land on surfaces that cause them to burst. Plus, the sheer scale of these bubbles is best enjoyed in an open space!
What happens if I don’t have glycerin?
Glycerin is really crucial for achieving the “unpoppable” quality. While you might get bubbles without it, they will be much more delicate and pop easily, similar to standard bubble solutions. You can usually find glycerin at pharmacies or craft stores.
DIY Magic Unpoppable Bubbles
Create magical, long-lasting, and unpoppable bubbles with this simple DIY recipe.
Ingredients
-
1 cup Dish Soap
-
2 cups Water
-
1 tablespoon Sugar
-
Straw
-
Clean Counter or Table
Instructions
-
Step 1
In a bowl, gently combine 2 cups of water and 1 tablespoon of sugar. Stir until the sugar is completely dissolved. Avoid creating too many suds. -
Step 2
Add 1 cup of Dish Soap to the sugar water mixture. Stir very gently to combine. Again, try not to create excess foam. -
Step 3
Let the bubble solution rest for at least a few hours, or preferably overnight. This allows the ingredients to fully meld and enhances bubble strength. -
Step 4
Find a clean, smooth surface like a clean counter or table. Dip the end of your straw into the bubble solution, ensuring it’s coated. -
Step 5
Gently blow through the straw to create your unpoppable bubbles. Experiment with different blowing techniques to create larger or more intricate bubbles. -
Step 6
Observe how these magic bubbles resist popping on contact with surfaces, offering a longer-lasting bubble experience.
Important Information
Nutrition Facts (Per Serving)
It is important to consider this information as approximate and not to use it as definitive health advice.
Allergy Information
Please check ingredients for potential allergens and consult a health professional if in doubt.
